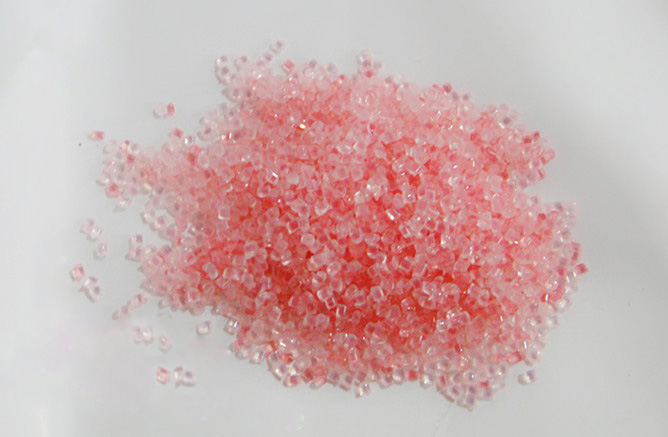
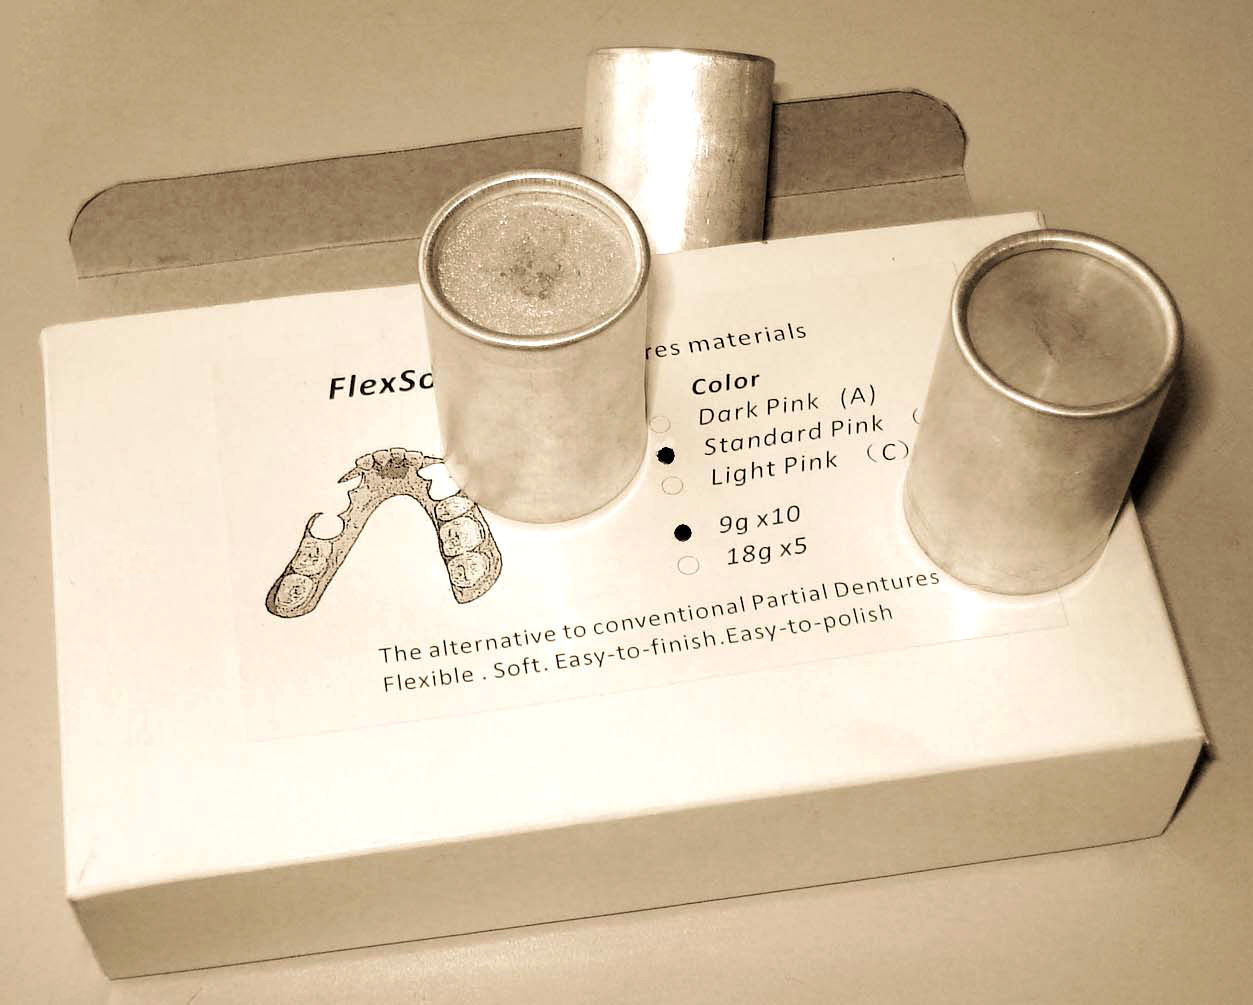
AX-YD-1 FlexSoft Partial Dentures Materials
Dark pink(A)/Standard Pink(B)/Light pink(C)/Crystal(D)
-1.jpg)
FlexSoft Dental Resin Instructions for Use
Suitable for: Partial and complete dentures, occlusal splints and nightguards.
Not Suitable for: Small unilateral restorations.
Warnings: Use eye protection and heat-resistant gloves when injecting.
Use proper ventilation, vacuum system and masks when
grinding prosthodontic resins.
Precautions: Cartridge must be injected within 1 hour of opening the
foil pouch.
I. PREPARING THE MASTER MODEL FOR DUPLICATION
All undercuts that will affect the path of insertion should be blocked-out with wax prior
to duplication. Do not relieve necklines of teeth or areas desirable for retention. For
free-end saddles, it is not necessary to remove the distal undercut of the last natural
tooth, unless the area is too deep. For free-end saddle cases where anterior teeth are
also being replaced, undercuts in the anterior should also be blocked out.
II. SET-UP
Duplicate blocked-out master model. Articulate the duplicate model and the master
model (you will need the master model articulated at finishing steps to check
occlusion). Set up the case on the duplicate model using only wax (no base plate).
Allow 1 mm of thickness under the teeth to flow to the labial
side and into the retention diatorics in the teeth. Use a small round carbide bur to
create mechanical retention in the teeth, from mesial to distal and connected to the
center diatoric hole.
III. WAXING
Important: Wax the case with anatomical features to reduce grinding during the
finishing stage.
Recommended thickness of wax-up:
1. Palatal thickness 1.2 - 1.5 mm
2. Buccal & Labial Flange 1.2 - 2.0 mm
3. Clasps 1.0 - 1.5 mm
4. Lingual Flange 1.2 - 2.0 mm
5. Lingual Major Connector (Mandibular) 1.7 - 2.0 mm
IV. INVESTING AND SPRUING
Invest the case in the center of the flask, aiming the posterior portion toward the sprue
opening. After the stone (or plaster) has set, use two sprues from the flask opening
to the most posterior portion of the wax on both sides (see diagram). Sprues should
be approximately 7 mm. width. Do not create sharp angles with the sprues, as the
heated resin must flow in a straight or slightly curved path. Apply a thin layer of
petroleum jelly on the entire stone surface. Then invest top half of flask.
V. REMOVING WAX
After the stone has set, place flask in boiling water for 8 minutes. Open the flask and
wash out the wax, making sure all wax residues are eliminated. Allow the flask to cool.
Apply thin layers of separator on the entire surface of the stone and allow it to dry
completely. Do not apply separator on teeth. When dry, close flask.
VI. INJECTING
Wear safety goggles and heat-protective gloves for this procedure.
Spray inside of the cartridge sleeve with mold release spray and place it into furnace.
Turn on the furnace and allow it to reach approximately 550°F (290°C), preheating
cartridge sleeve for approximately 15 minutes.
Remove cartridge from foil-lined bag (do not remove cartridge from bag
until this step). Spray the cartridge and bronze disk with mold release
spray. Insert the cartridge into the cartridge sleeve with the cap end
first. Insert the bronze disc into the cartridge sleeve against the end of the cartridge.
Use the thick bronze disc for medium tubes and the thin bronze disc
for the large tubes. Heat cartridge for 12 minutes.
Position the flask with the sprue end up, directly under the shaft of the press. After 12
minutes, remove the cartridge sleeve from the furnace. Keep the cartridge sleeve in a
horizontal position until resting on top of the flask, and then turn the cartridge sleeve
into a vertical position. Immediately use the press to inject the heated cartridge into
the flask using a steady fast motion. Continue applying pressure until tube bursts and
continue with maximum downward pressure for 3 minutes.
Remove the cartridge sleeve from the flask with a slight twisting motion. After
removing the cartridge sleeve, let the flask cool for at least 30 minutes. Do not put
flask into a cold water bath. Use a plaster nipper to de-flask. Do not use a hammer.
Remove the compressed cartridge from the cartridge sleeve with a knock-out punch.
Important: Cartridge sleeve must be pre-heated for 10 minutes BEFORE the
next injection.
VII. FINISHING AND POLISHING
Remove appliance from the model. Cut off the sprues with a cut-off wheel. Trim the
edges of appliance with a coarse grinding wheel. Avoid overheating. Use rubber
wheels to smooth scratches. Place the appliance on the articulated master model to
check the fit, retention, thickness and occlusion. Clean the tissue surface with a small
bristle brush.
To polish, use a coarse dental abrasive, such as pumice, with a wet rag wheel.
Apply final shine with a hi-shine compound on low speed with a final buff wheel.
Be careful not to overheat appliance.
 - DB21V")

.jpg)

.jpg)

-2.jpg)
-4.jpg)


.jpg)
.jpg)
-1.jpg)